Posts

Showing posts from March, 2018

Metal Tray

Image
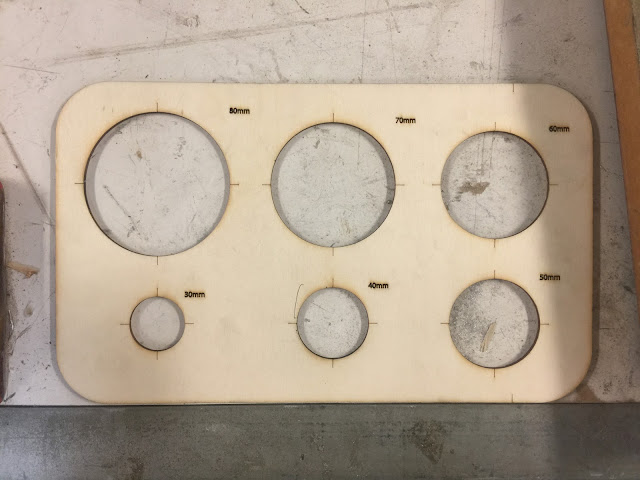
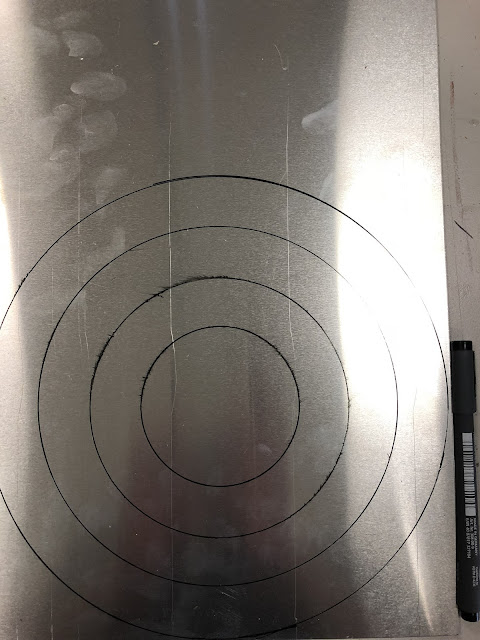
In week 4 we learned how to make the metal tray.  Two people are in a small group, each person did the tray individually, then combine both trays together to see if they fits perfectly. Step 1: Dtermining which arc we should draw on the plank from the pre-prepared arc template. Usually when the arc is smaller, the tray is more difficult to make. I choosed the smallest arc, which is 30mm, to challenge myself if I can make it. Using the arc template to draw the arc on the four corners of the plank. Step 2: Using the sanding machine to grind off the perpendicular corners following the guiding arc lines we just drawn. The plank will be used as the template for striking the tray later. Step 3: Placing the plank on the top of the aluminum sheet to draw the shape. The space around the tray will be bended inward when striking later, so we need to leave the bended space on the aluminum sheet. The length of the outer bended part should be equal to the

Metal Torus

Image
In week 3 we learned how to make the metal torus. Step 1: Wrapping and benting the aluminum sheet on the cylindrical abrasive tool to make it attached on it. Step 2: Using the pointed tip of the hammer to strike the middle part of the aluminum sheet evenly on the cylindrical abrasive tool, this process will make the middle part of the aluminum concave. Also by  Using the round side of the hammer to strike the aluminum sheet to fit the notch of the cylindrical abrasive tool. Step 3: Placing the alumium sheet on the house shoe metal abrasive tool and striking the two sides of the aluminum sheet evenly by using teh abrasive tool and the hammer. Final torus:

Aluminium Bowl

Image
In week 2 we learned how to make the aluminium bowl. Step 1: We payed 75 dollar and got a piece of 250mm x 500mm aluminium sheet, share half with my partner. Step 2: Using the c oncentric rings as the template to draw a series of circles on the aluminium sheet, these inner marks will guide me smash the sheet. Step 3: Using the metal cutter and follow the outer line to cut the plate to a circle. Step 4: Using the die base and the larger radius side of metal hammer to smash the plate. Start to strech it from the outside to the inside gradually. Step 5: Using the radius gauge to check the radius of the bowl all the time and adjust it. Finally i choose r125 as my radius. Step 6:  Using the English Wheel to make the surface smooth. Step 7:  Using the sandpaper to polish the bowl. Final bowl: