Aluminium Bowl
In week 2 we learned how to make the aluminium bowl.
Step 1:
We payed 75 dollar and got a piece of 250mm x 500mm aluminium sheet, share half with my partner.
Step 2:
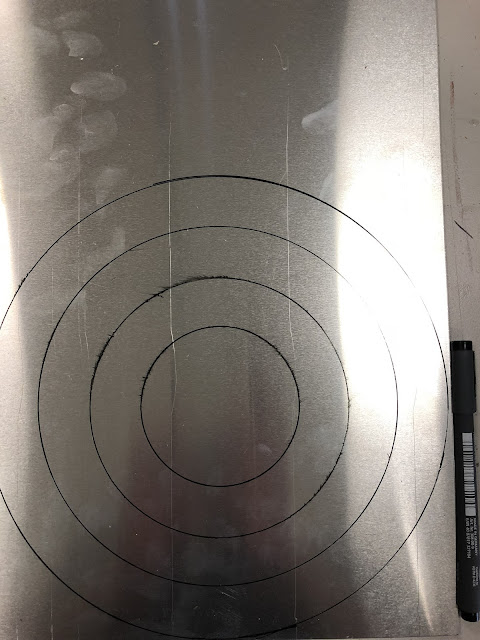
Using the concentric rings as the template to draw a series of circles on the aluminium sheet, these inner marks will guide me smash the sheet.
Step 3:
Using the metal cutter and follow the outer line to cut the plate to a circle.
Step 4:
Using the die base and the larger radius side of metal hammer to smash the plate. Start to strech it from the outside to the inside gradually.
Using the die base and the larger radius side of metal hammer to smash the plate. Start to strech it from the outside to the inside gradually.
Step 5:
Using the radius gauge to check the radius of the bowl all the time and adjust it. Finally i choose r125 as my radius.
Step 6:
Using the English Wheel to make the surface smooth.
Using the English Wheel to make the surface smooth.
Step 7:
Using the sandpaper to polish the bowl.
Using the sandpaper to polish the bowl.
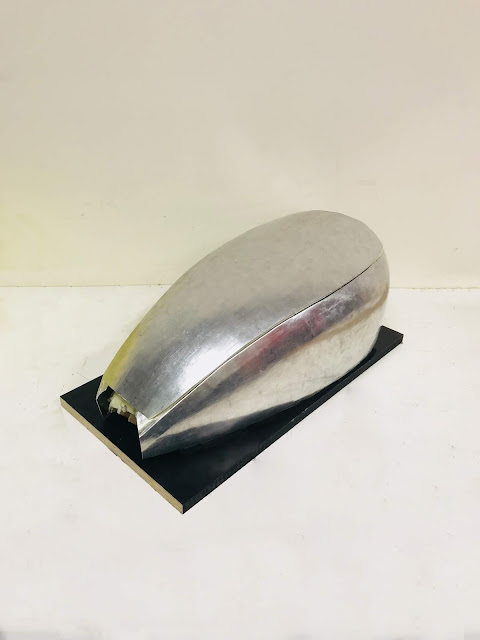
Final bowl:


Comments
Post a Comment